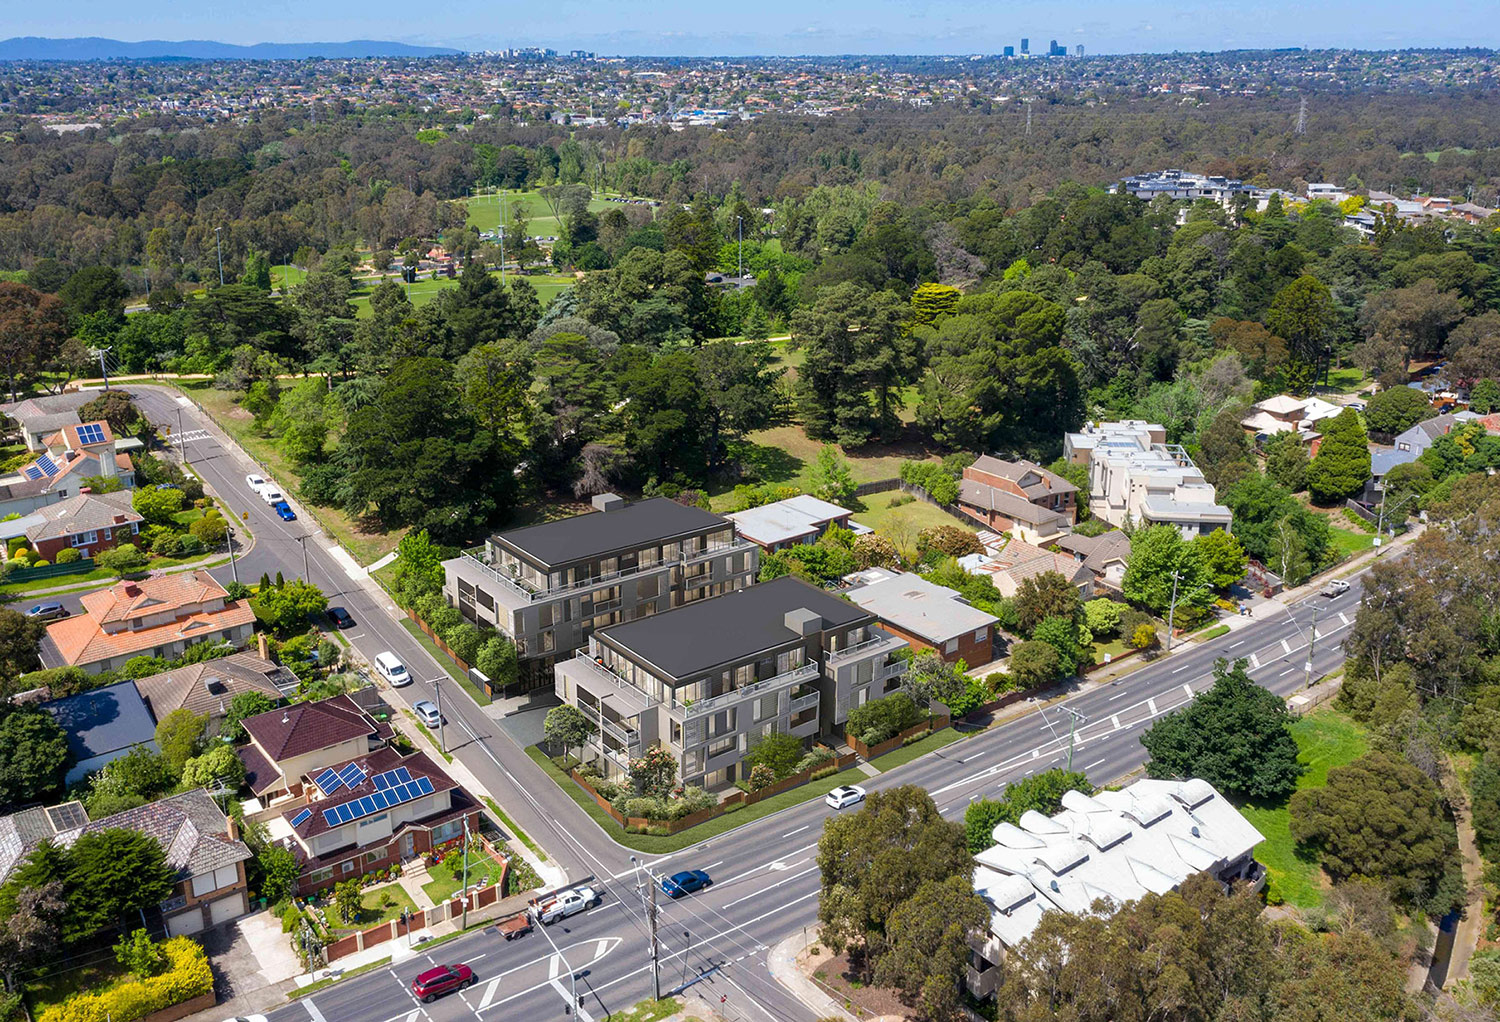
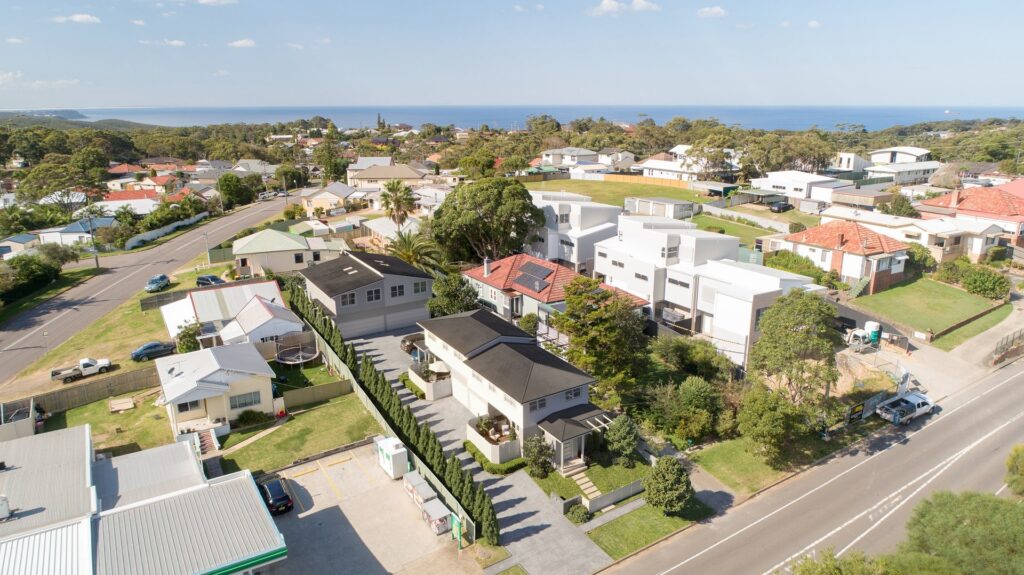
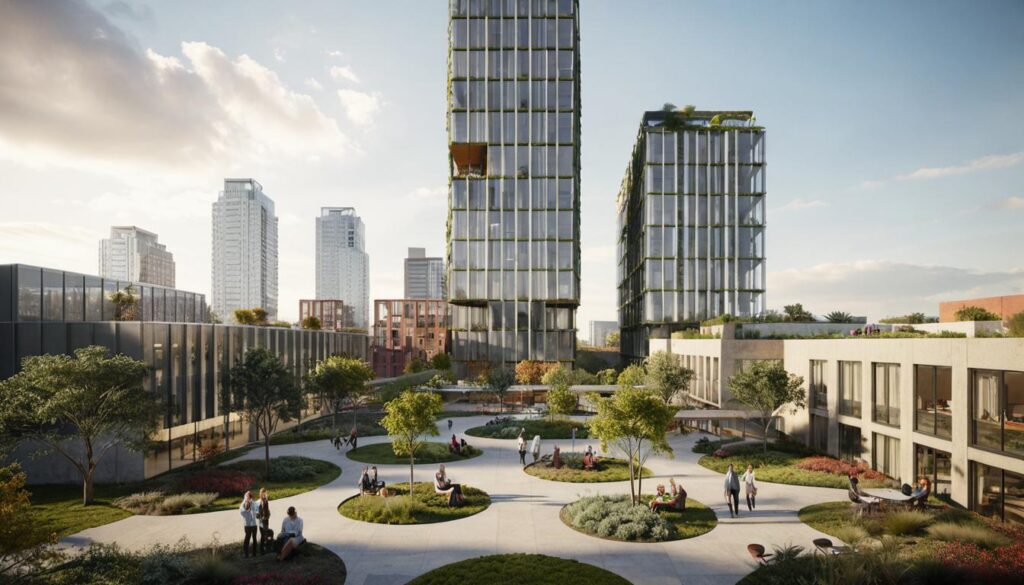
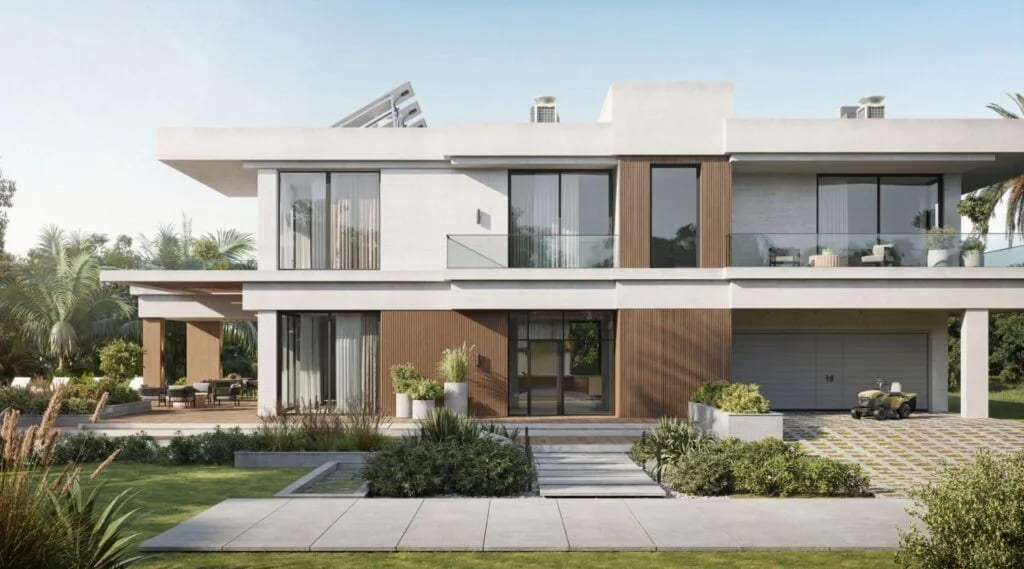
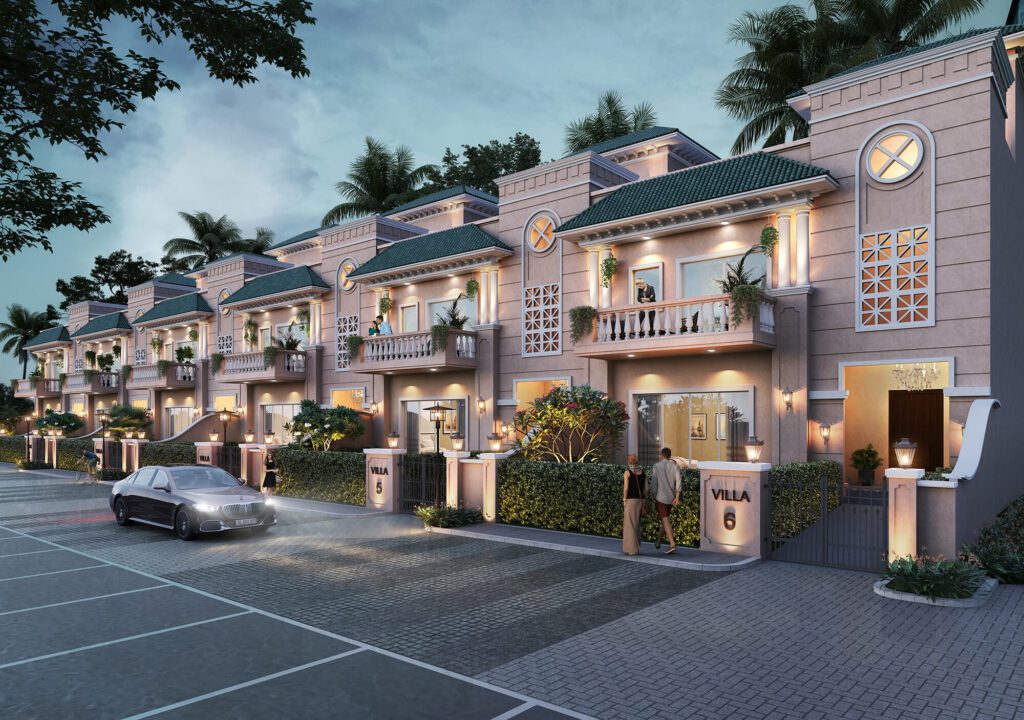
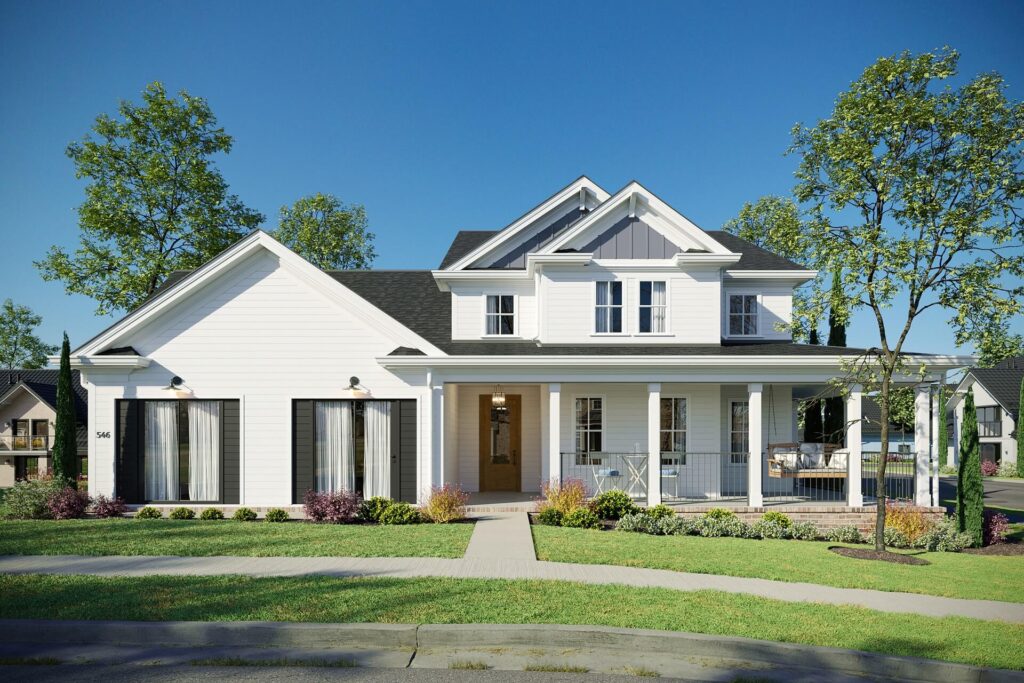
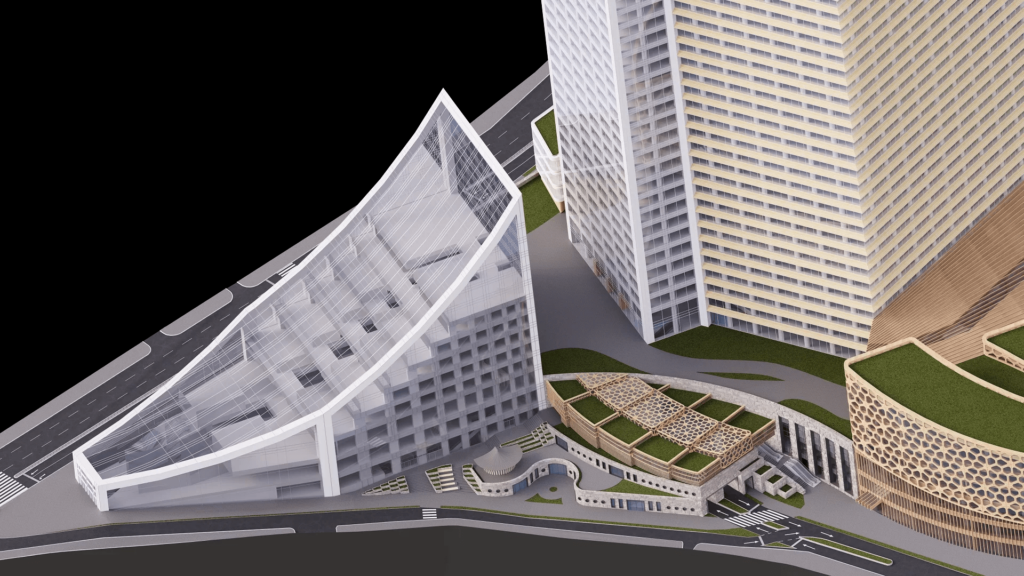
In the realm of architectural rendering, photo montage rendering for exterior CGI projects plays a pivotal role in visualizing and presenting architectural designs realistically and compellingly. By seamlessly integrating computer-generated imagery with real-life photographs, this technique helps architects, designers, and developers showcase their projects in a contextually relevant environment.
Explore below the step-by-step process for achieving a perfect photo montage rendering in exterior CGI projects, highlighting the key considerations and techniques to elevate the visual impact of your architectural designs.
Step 1: Selecting the Right Photograph
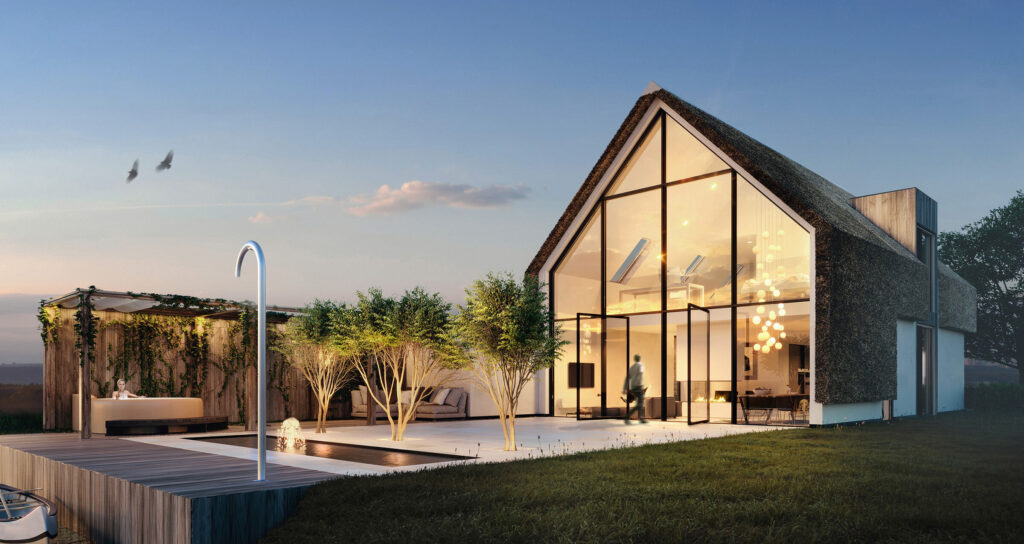
The first step in creating a compelling photo montage rendering is to carefully select the background photograph that will complement your CGI model. Ensure that the photograph aligns with the overall aesthetic, lighting, and perspective of your architectural design. Pay attention to factors such as time of day, weather conditions, and surrounding landscape to achieve a coherent and realistic composition.
Step 2: Precise Camera Matching
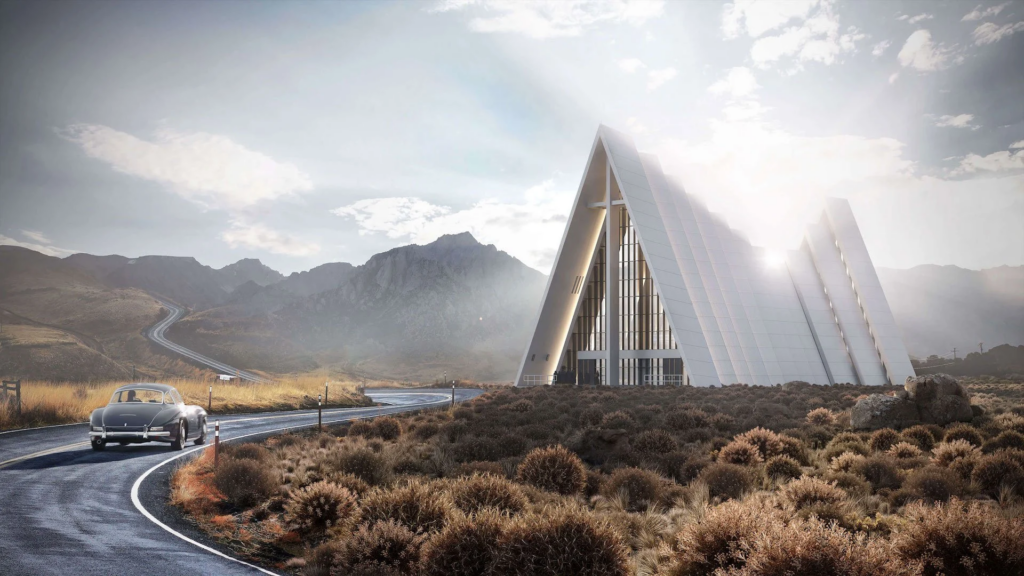

Achieving seamless integration between the CGI model and the background photograph requires precise camera matching. Utilize software tools and techniques to accurately match the perspective, focal length, and camera position of the CGI rendering with that of the background photograph. This alignment is critical in creating a convincing and realistic depiction of the architectural design within its environment.
Step 3: Lighting and Shadow Integration
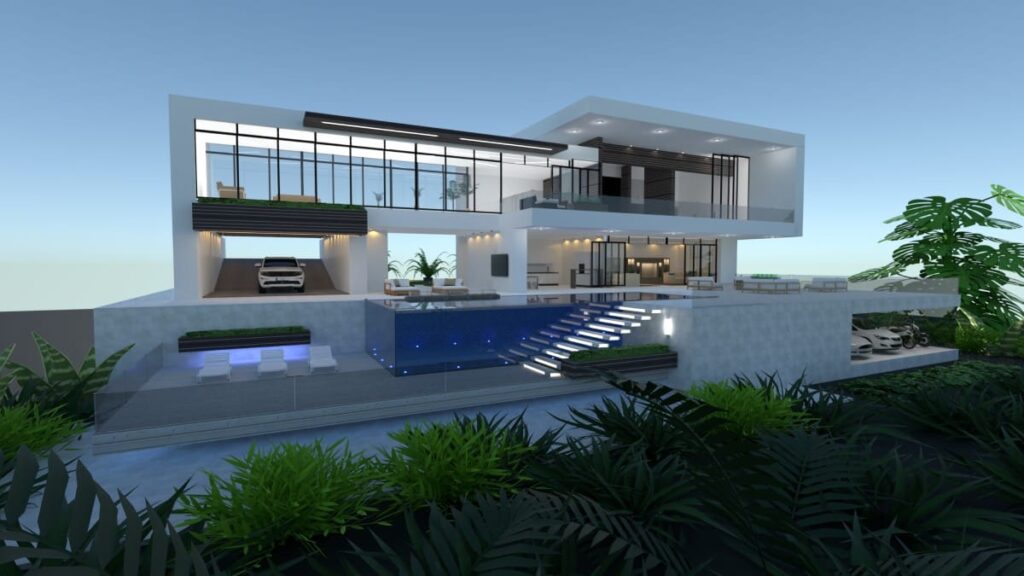

Harmonizing the lighting and shadows between the CGI model and the background photograph is essential for a cohesive and authentic photo montage rendering. Adjust the lighting direction, intensity, and color to ensure that the CGI elements seamlessly blend with the natural lighting of the photograph. Pay close attention to the interaction of shadows to enhance the visual integration and realism of the composition.
Step 4: Texturing and Material Matching
To achieve a perfect photo montage rendering, meticulous attention to detail is required in matching the textures and materials of the CGI model with those present in the background photograph. Ensure that the surfaces, reflections, and material properties align with the real-life elements captured in the photograph. This level of detail contributes to the overall credibility and visual fidelity of the composition.
Step 5: Post-Production Refinement
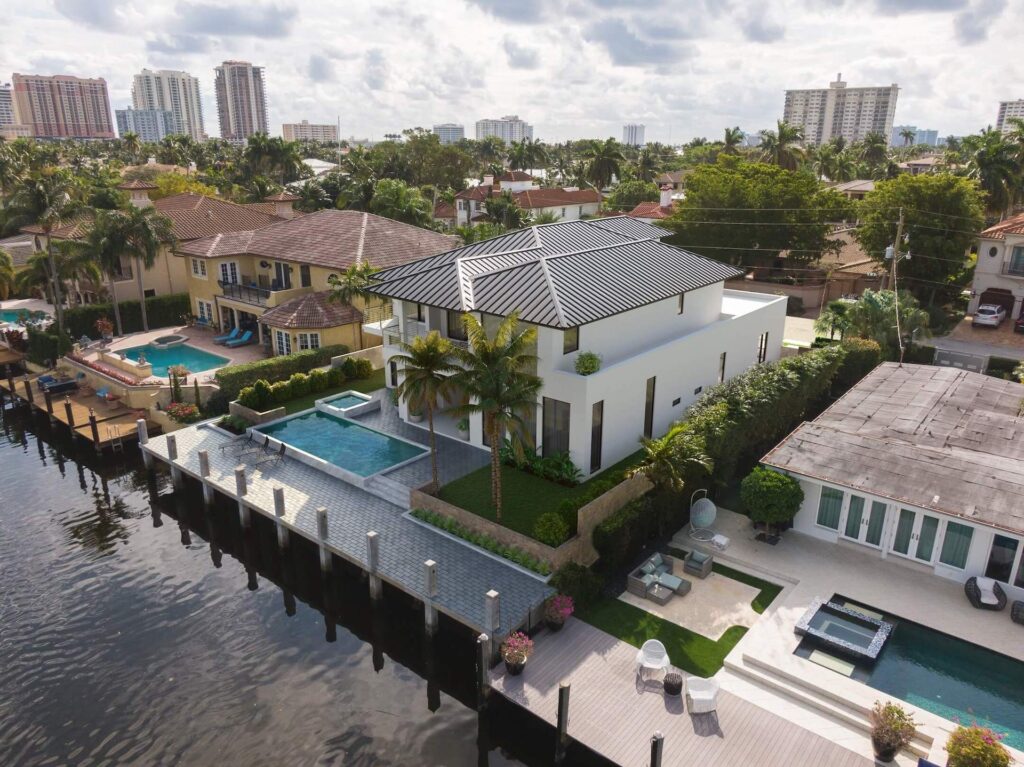

After integrating the CGI model with the background photograph, perform post-production refinement to fine-tune the composition. This may involve color correction, depth of field adjustments, and atmospheric effects to enhance the overall visual impact and coherence of the rendering. Additionally, consider adding elements such as vegetation, people, and contextual details to further enrich the scene and convey a sense of realism.
Mastering the art of photo montage rendering in exterior CGI projects involves a meticulous and methodical approach to seamlessly blending computer-generated imagery with real-life photographs. By following this step-by-step guide and leveraging the capabilities of architectural rendering software and techniques, you can create captivating and persuasive visual representations of your architectural designs within their intended environments.
Avenir Design Studio
Avenir Design Studio is a renowned provider of cutting-edge 3D rendering services, specializing in both interior and exterior visualizations. Their team of talented designers and 3D artists employ the latest technologies to craft photorealistic renderings that bring architectural concepts to life. From stunning exterior rendering to immersive interior visualizations, Avenir Design Studio’s expertise ensures your projects captivate and impress, every step of the way.
Are you looking for 3D exterior rendering services to bring your upcoming project to life? Reach out to Avenir Design Studio, and get stunning CGI in the quickest turnaround time.
